In this guide I will teach you how to create a bootable Ubuntu USB on macOS with UNetbootin. Since UNetbootin is also available for Windows and Linux, this tutorial can be use on those operating system as well with minor differences.
Ubuntu Linux is one of the most user-friendly Linux distribution in the market. I remember back in 2001 the Linux installation process was cumbersome and only for advance computer users. Linux came a long way, and now we can enjoy the user-friendliness Ubuntu Linux offers to both beginner and advance users.
Prerequisite
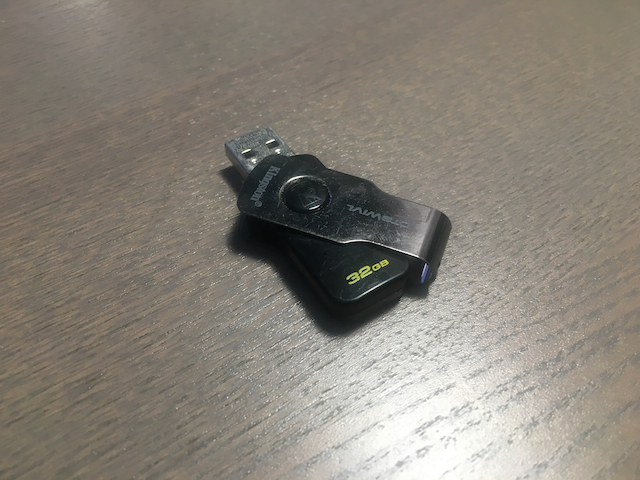
- 4 GB USB flash disk
- macOS
- Intermediate computer knowledge
Download Ubuntu Image
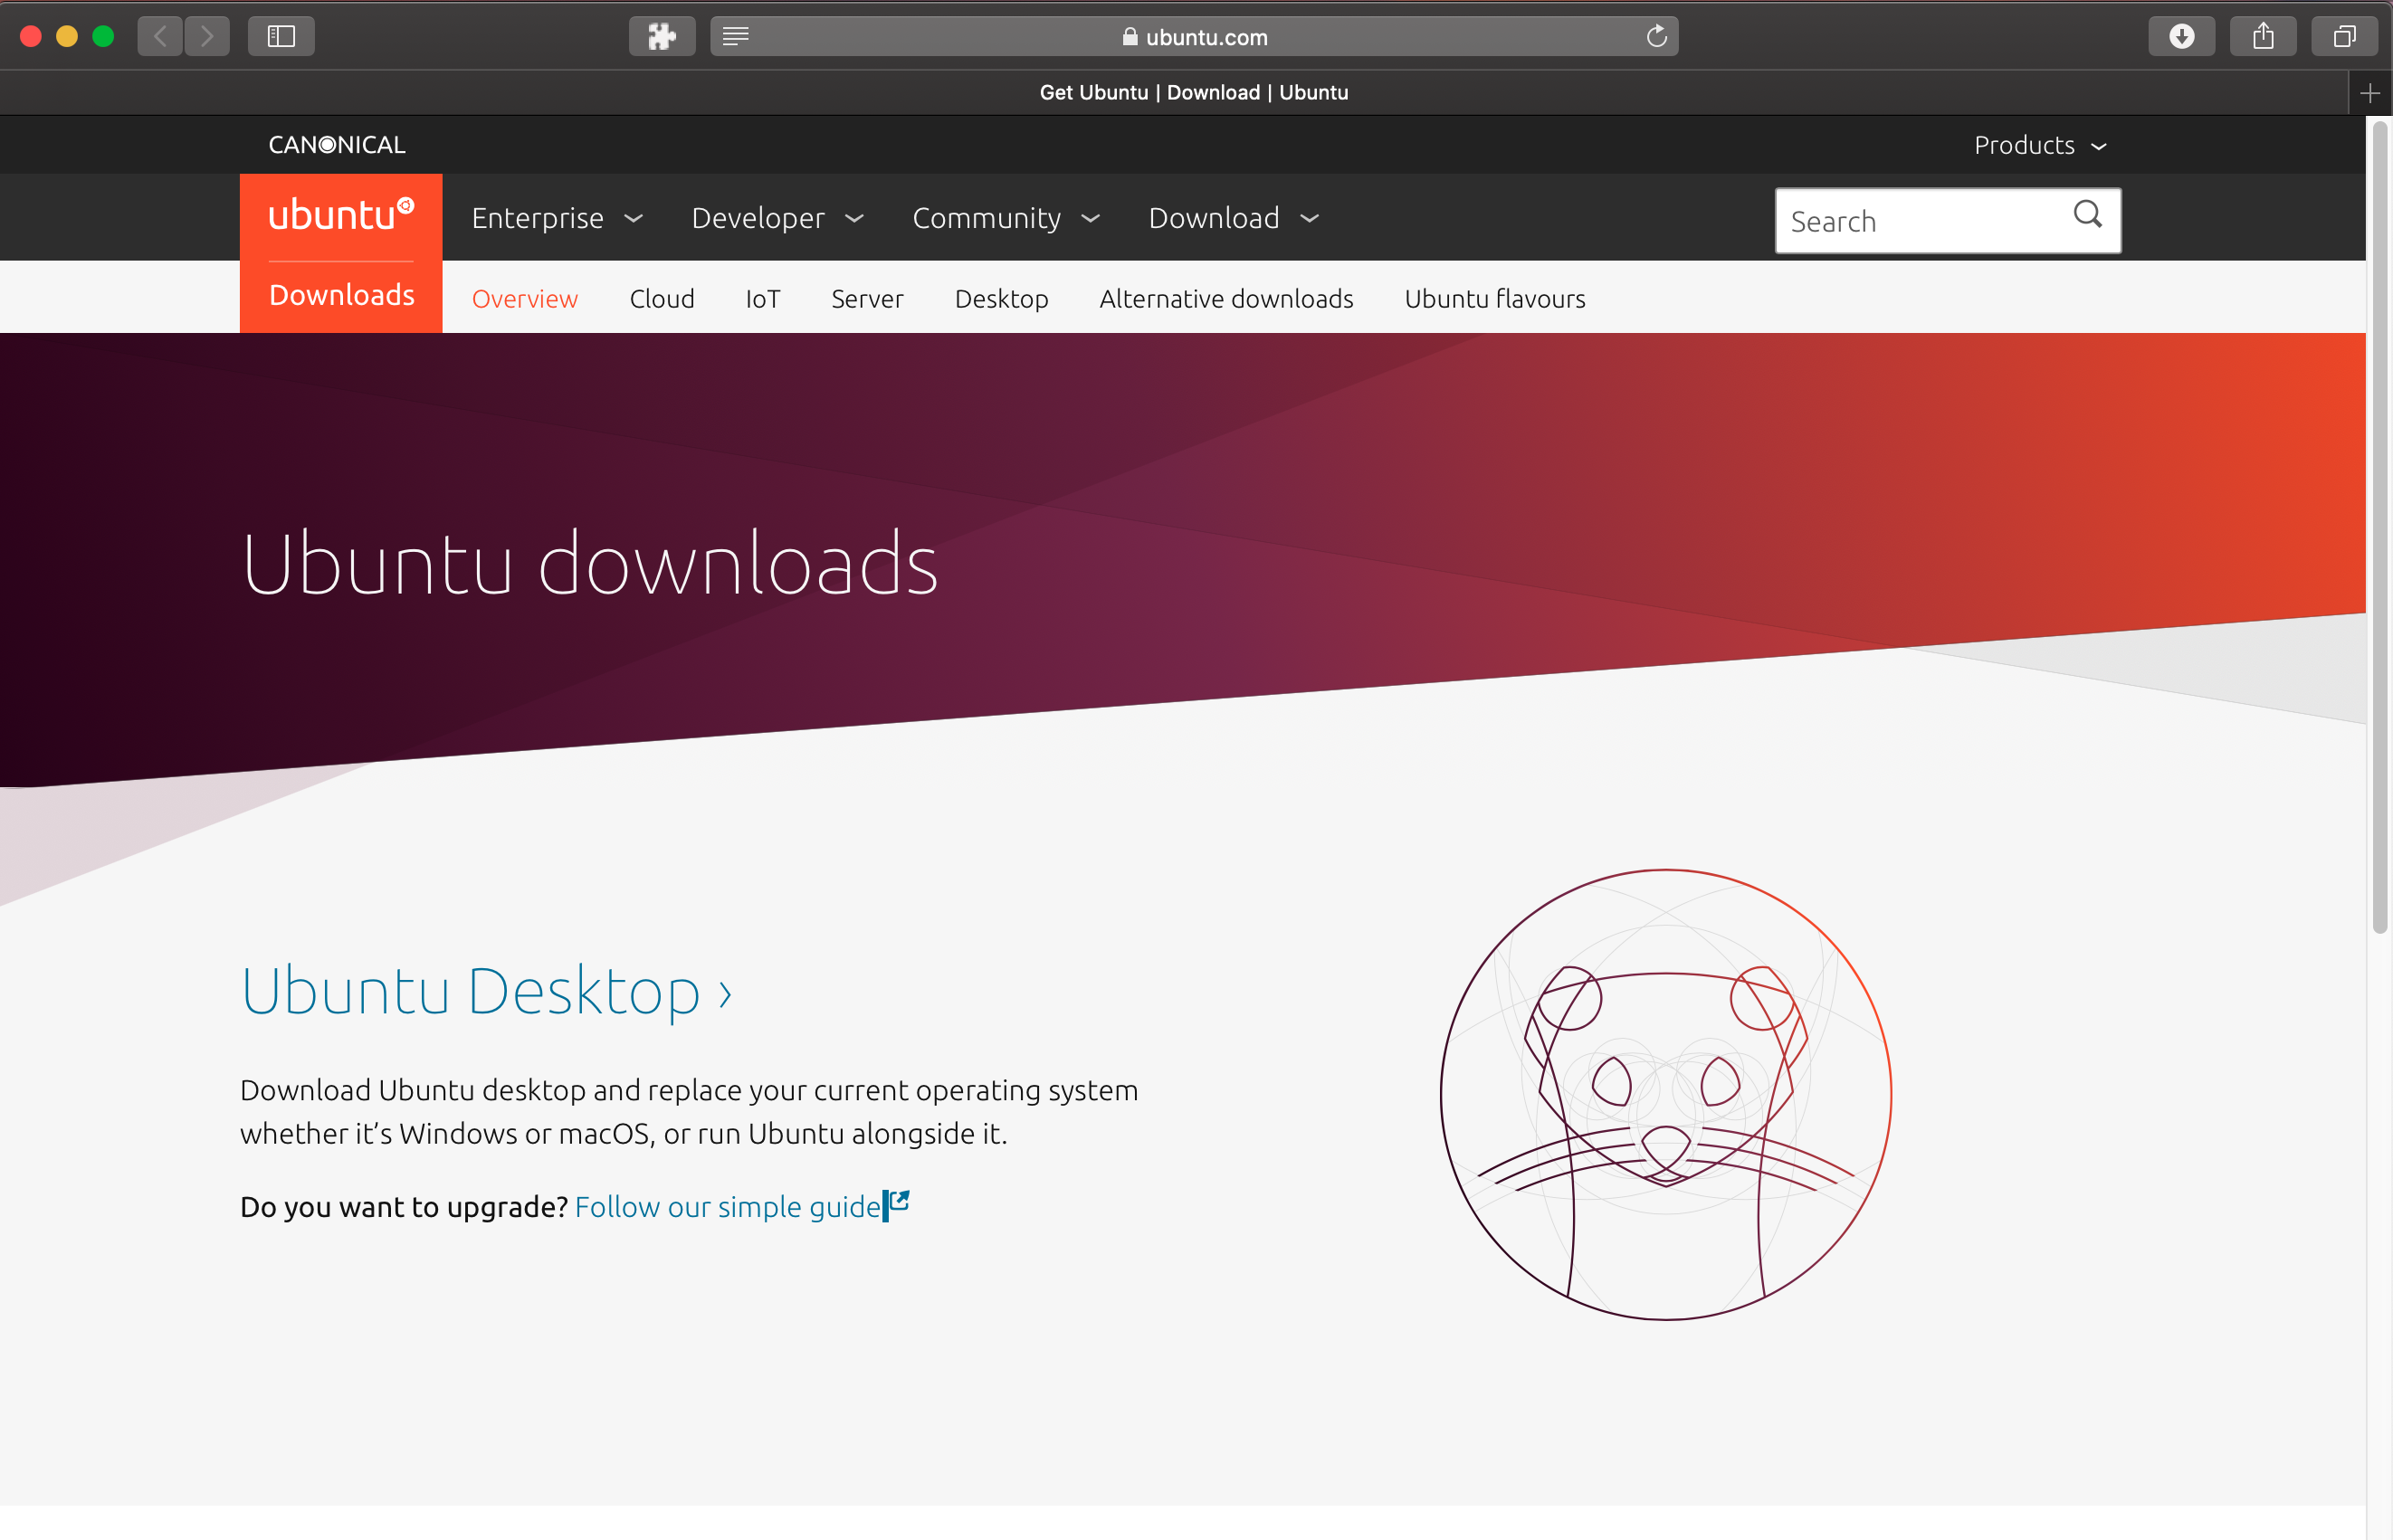
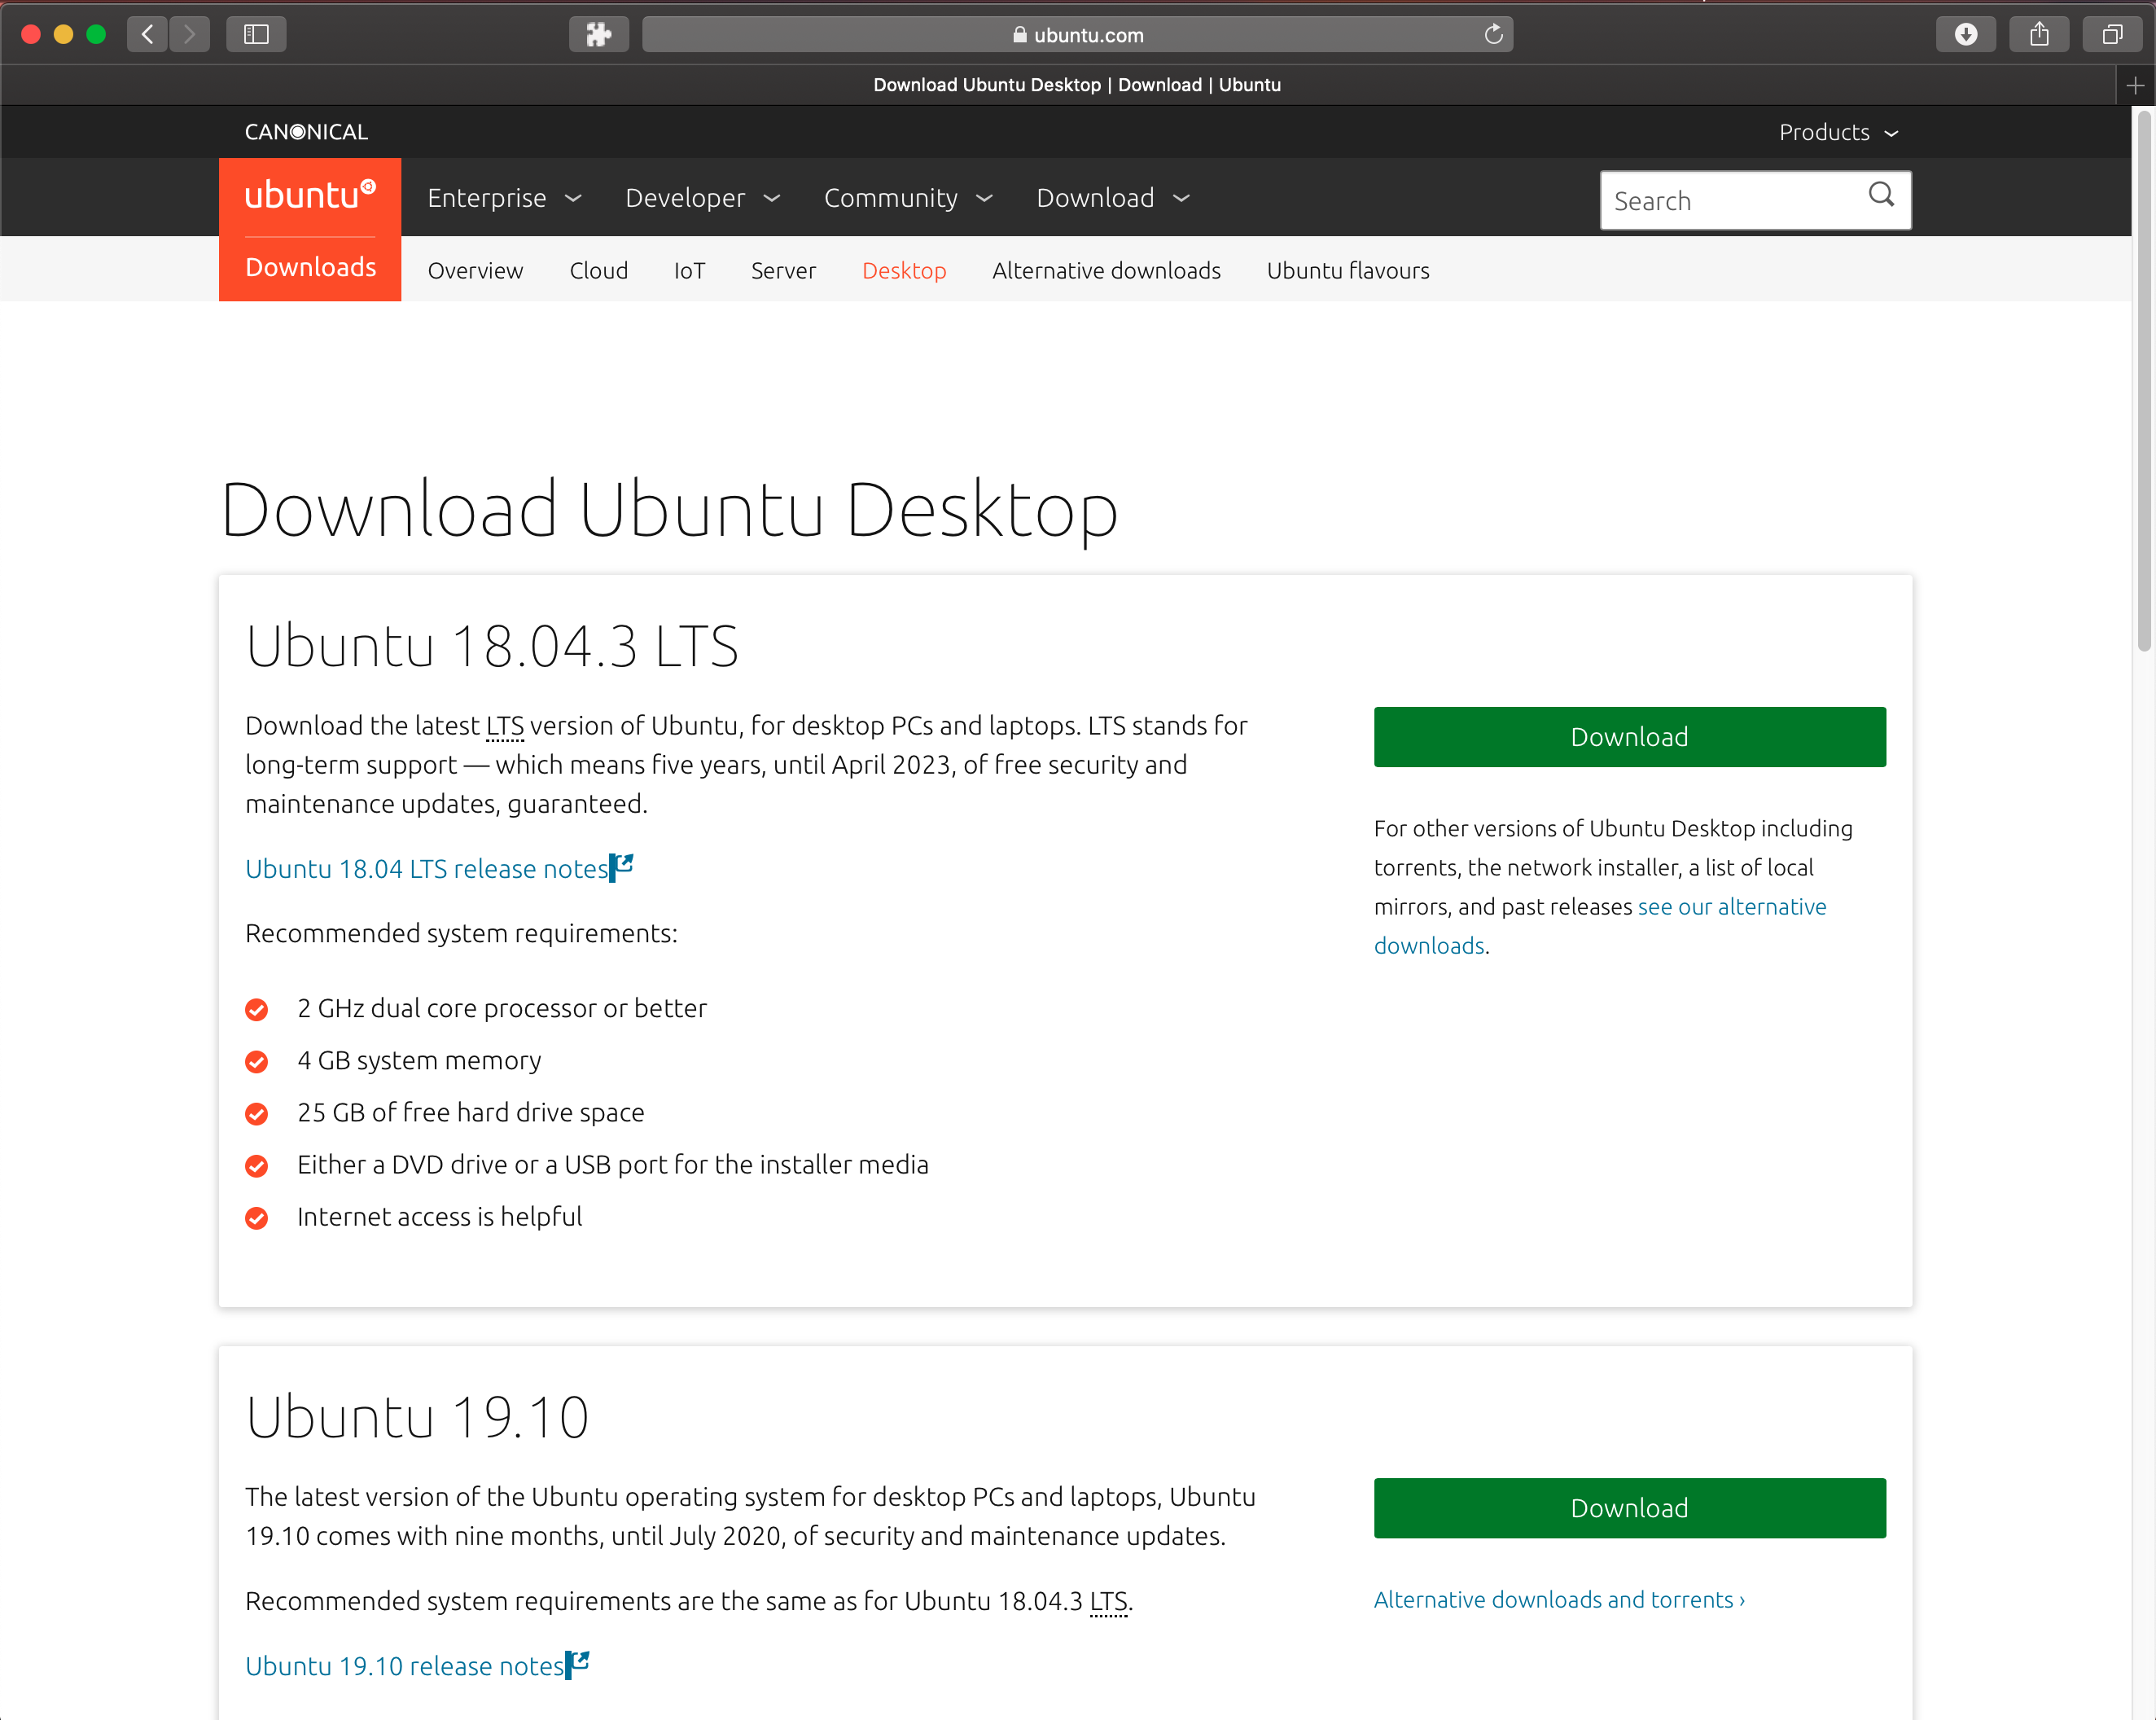
Go to https://ubuntu.com/download and select Ubuntu desktop.
- Download Ubuntu Image
- Select your Ubuntu version
Inside the version selection page select the version you want to download.
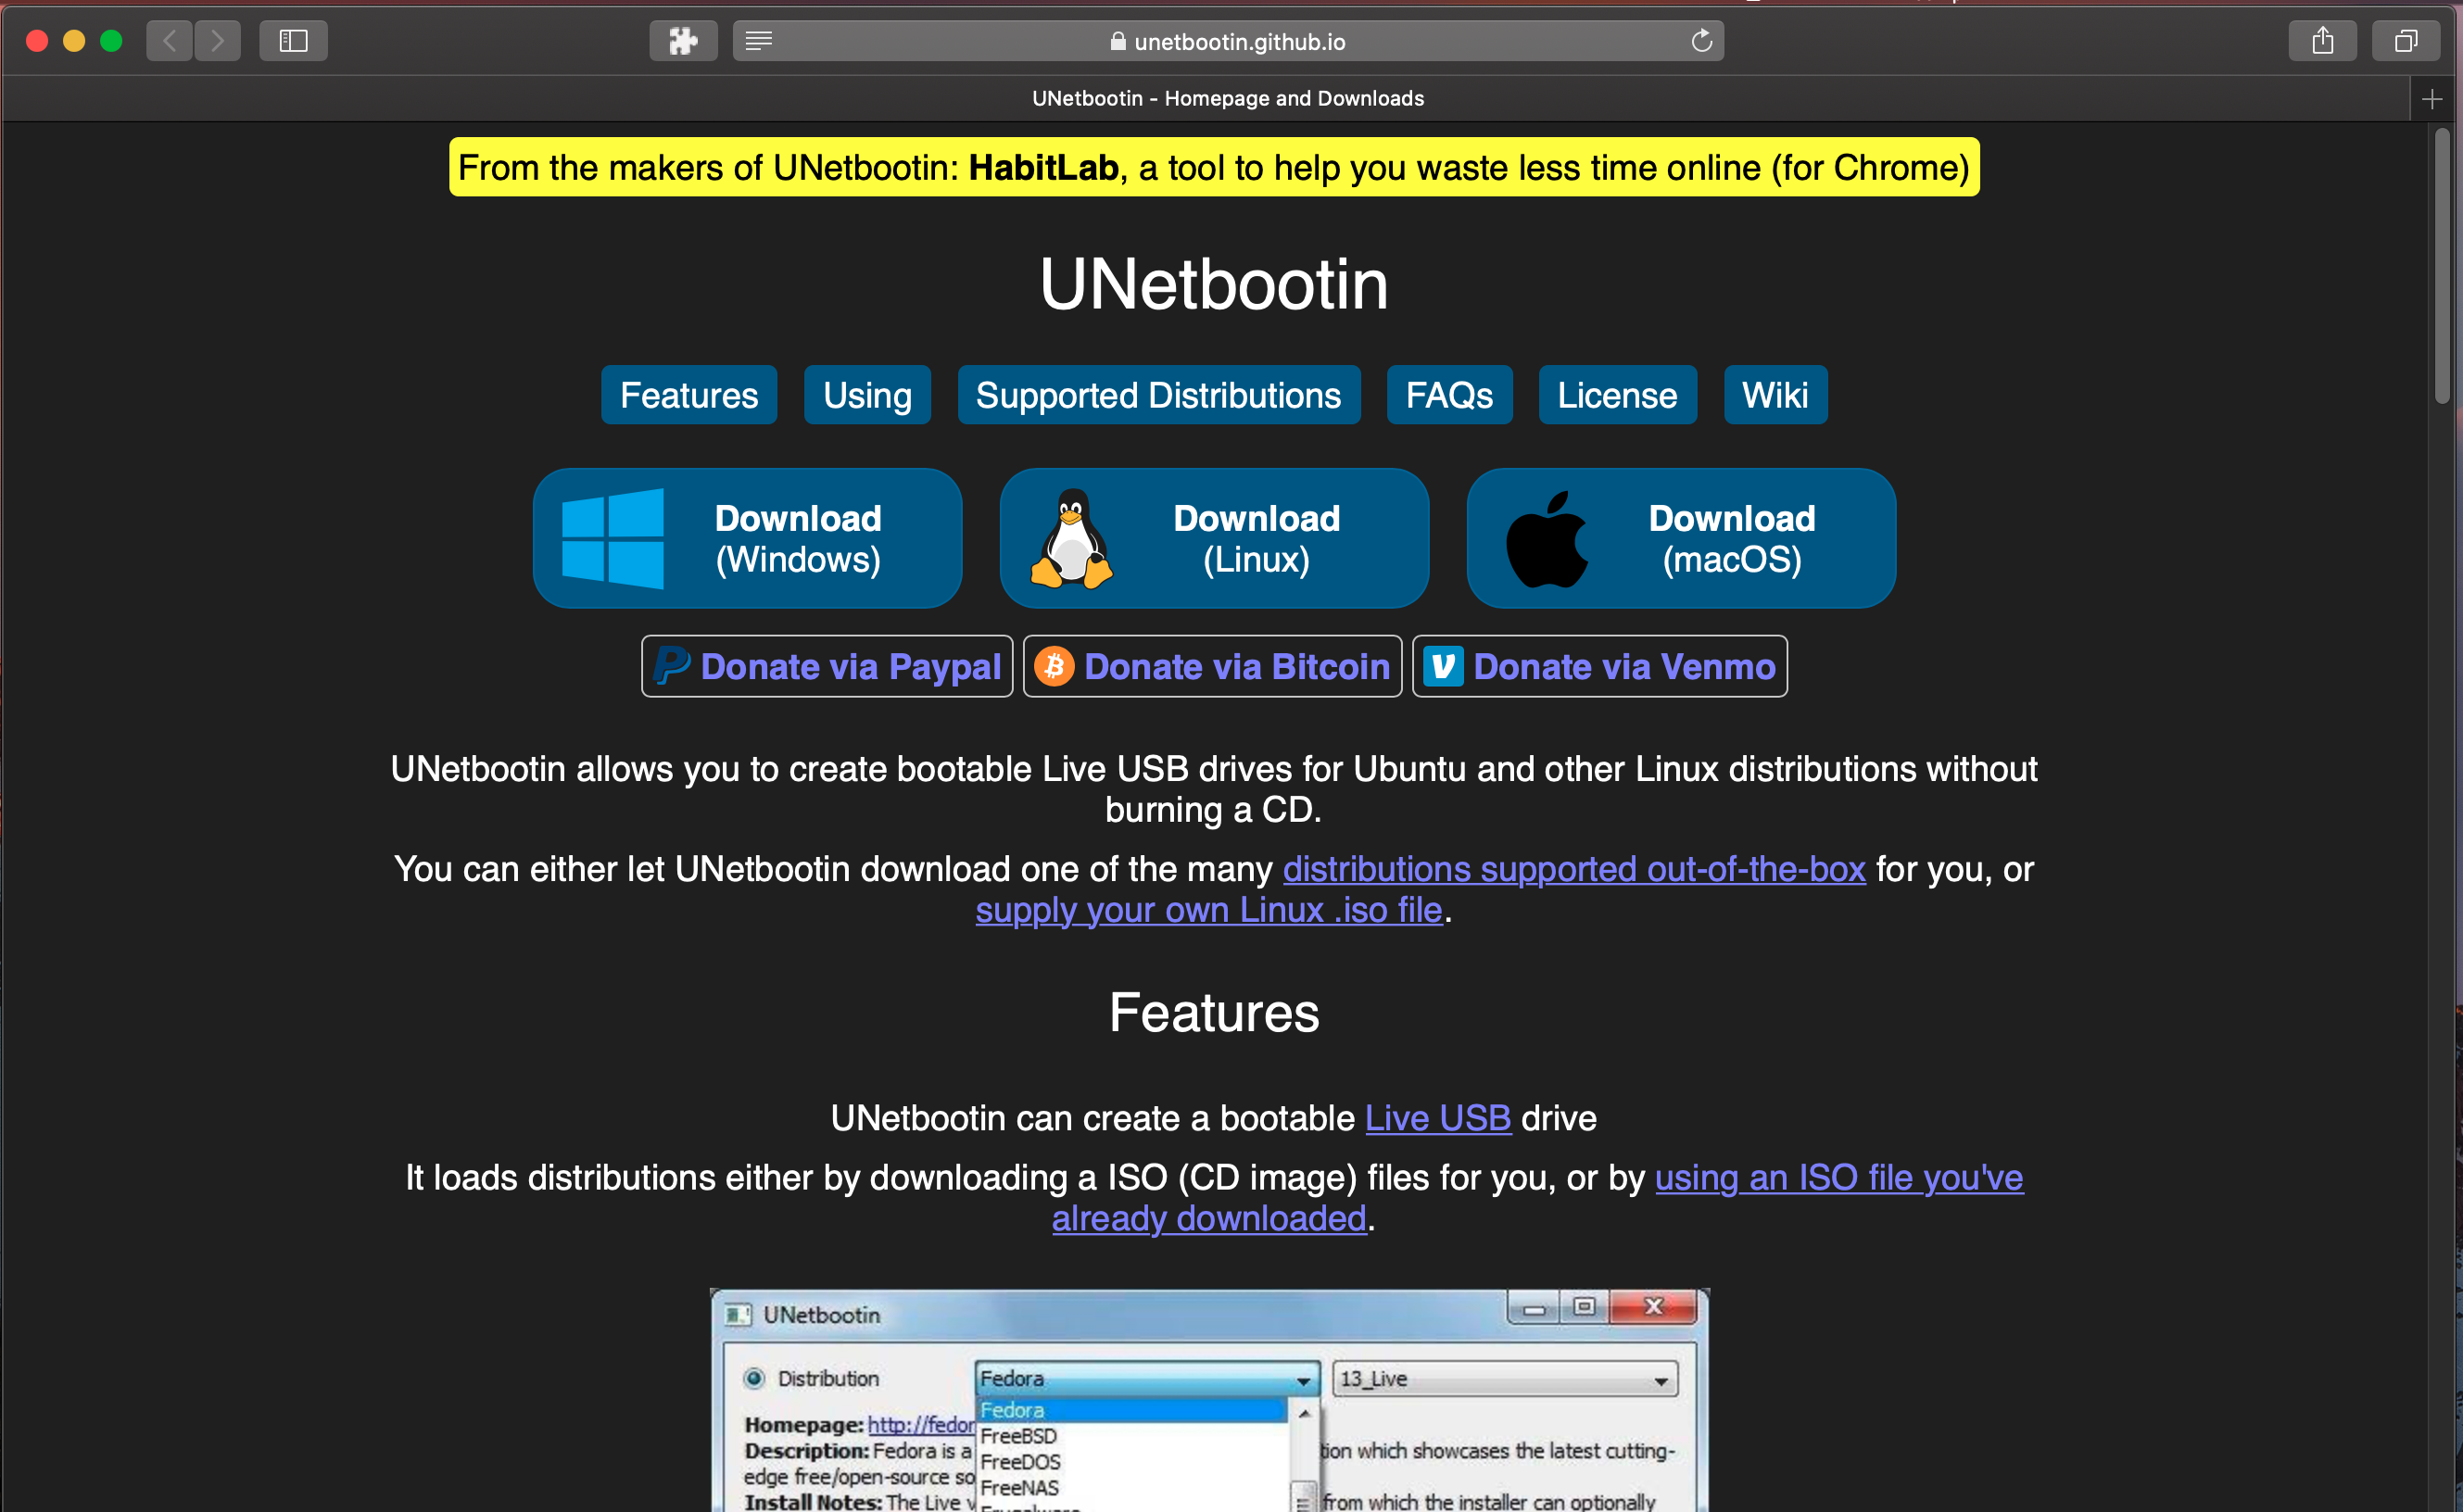
Download and Install UNetbootin
- Download UNetbootin
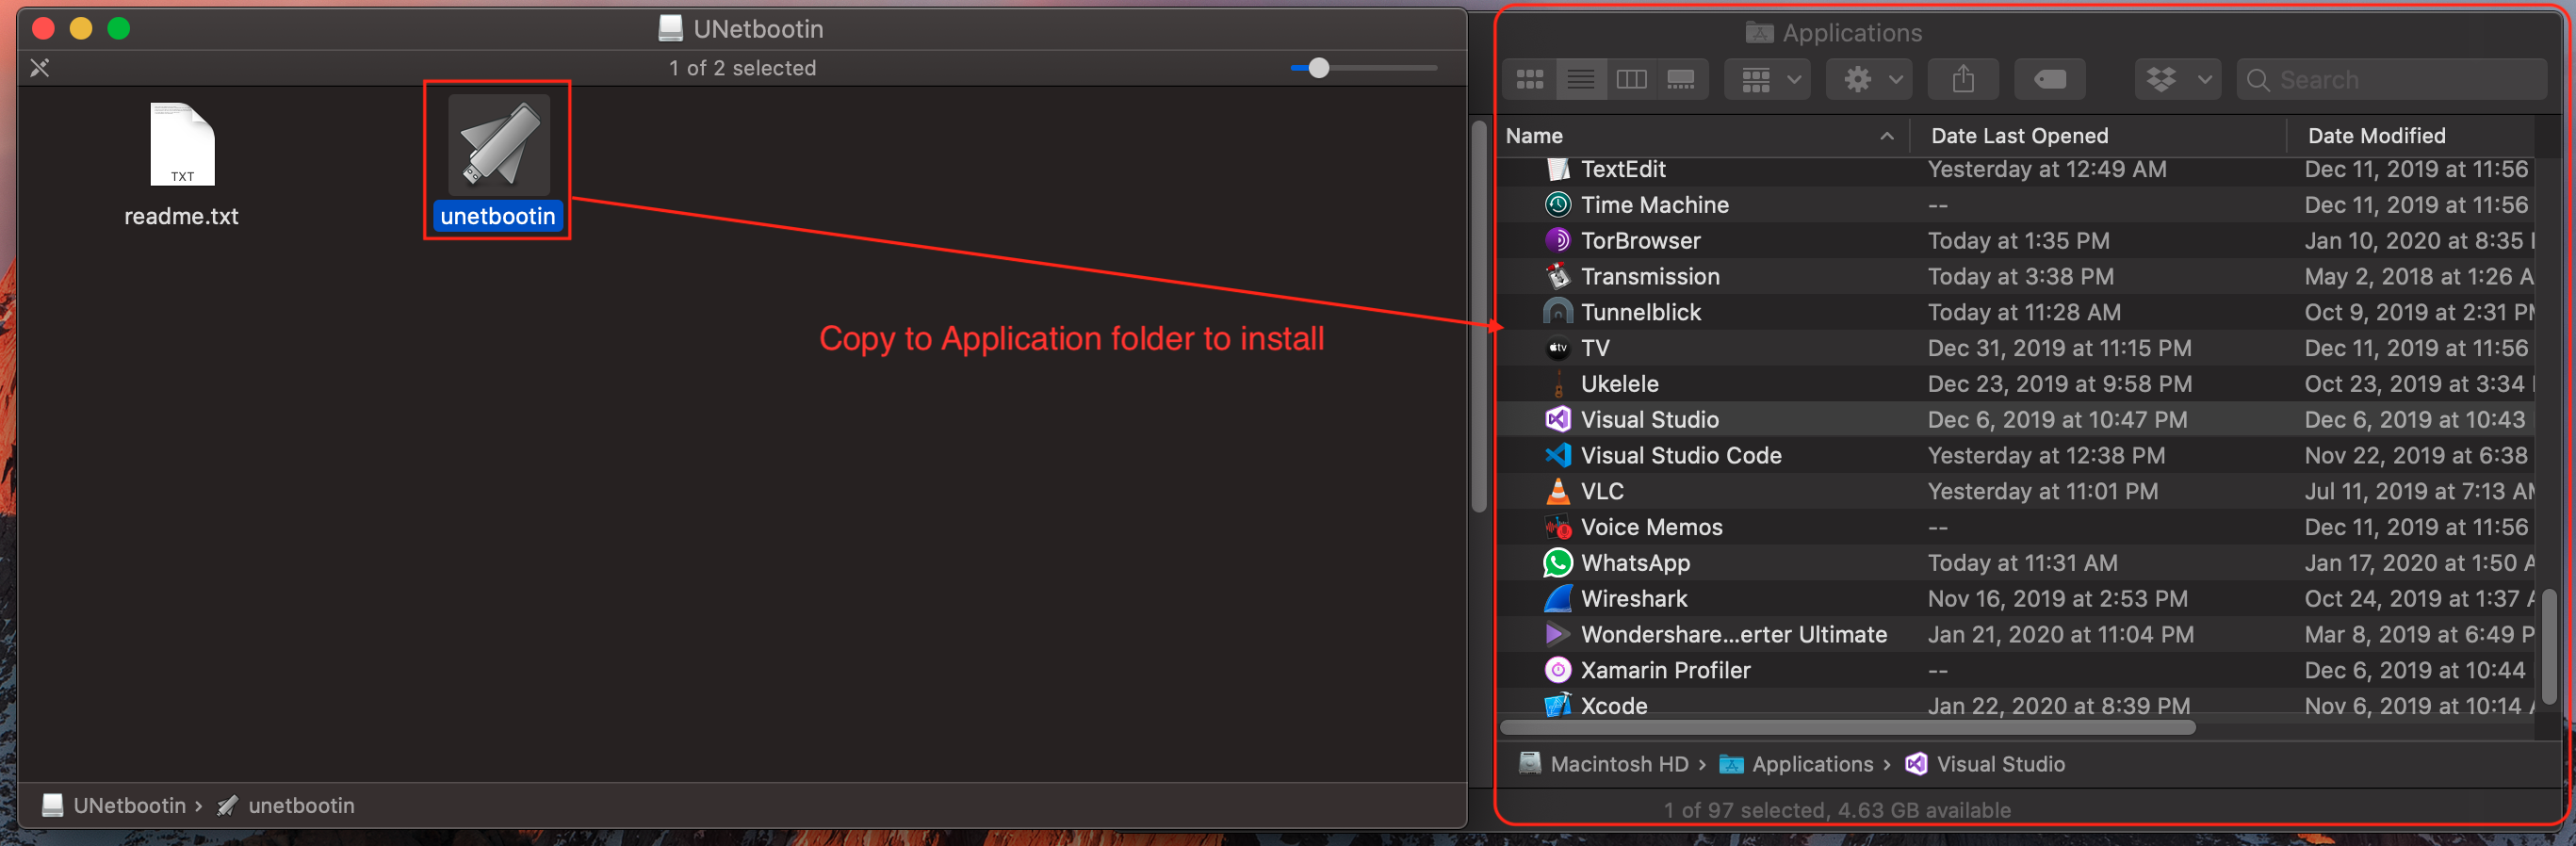
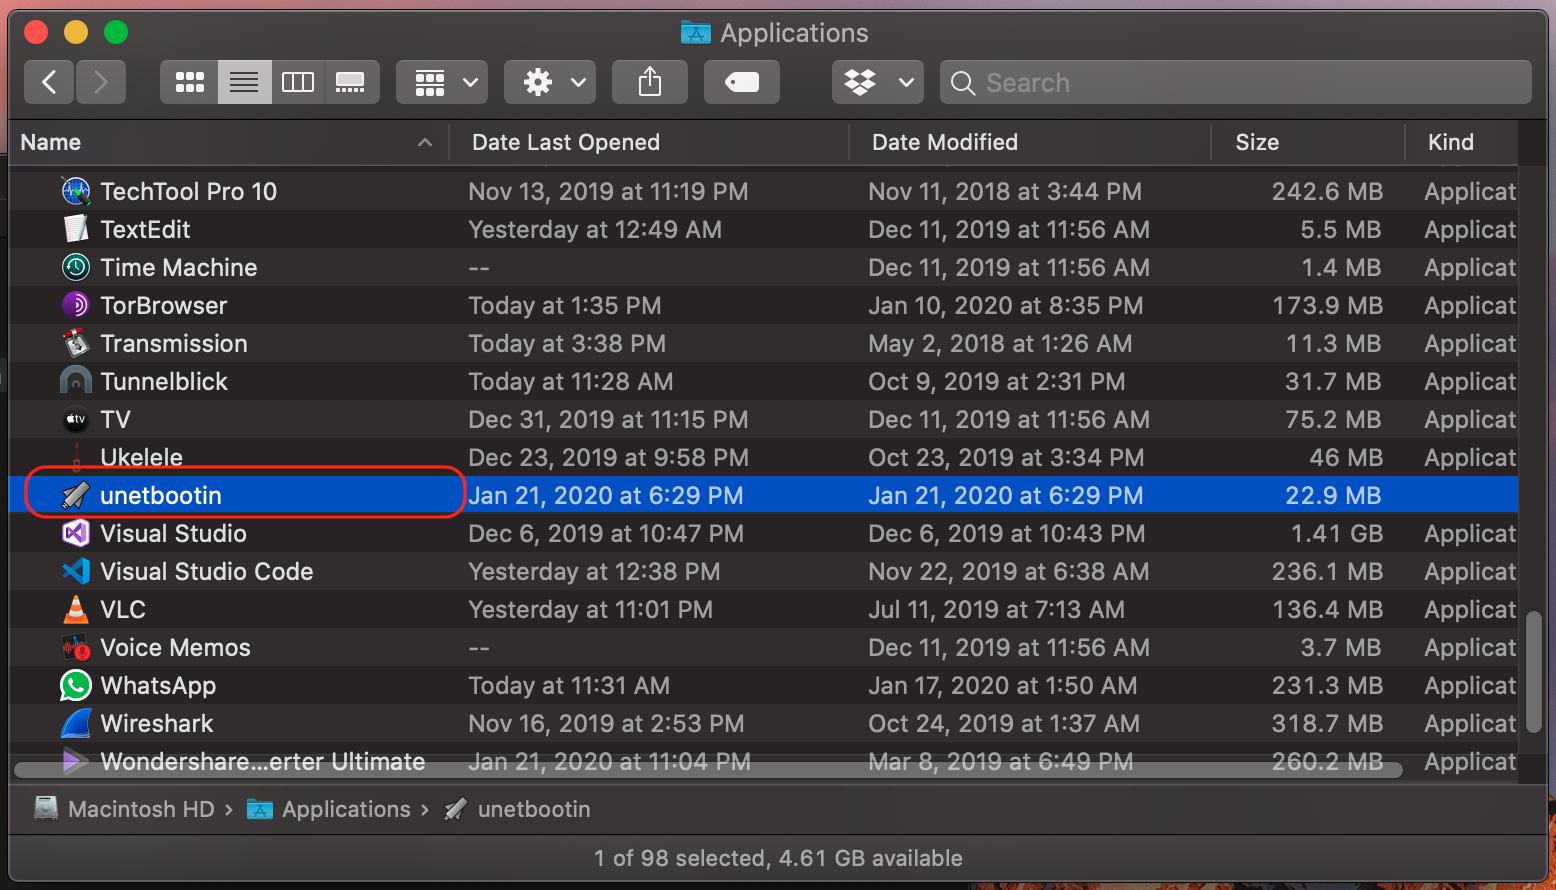
- Copy UNetbootin into macOS application folder
Creating a bootable USB with UNetbootin
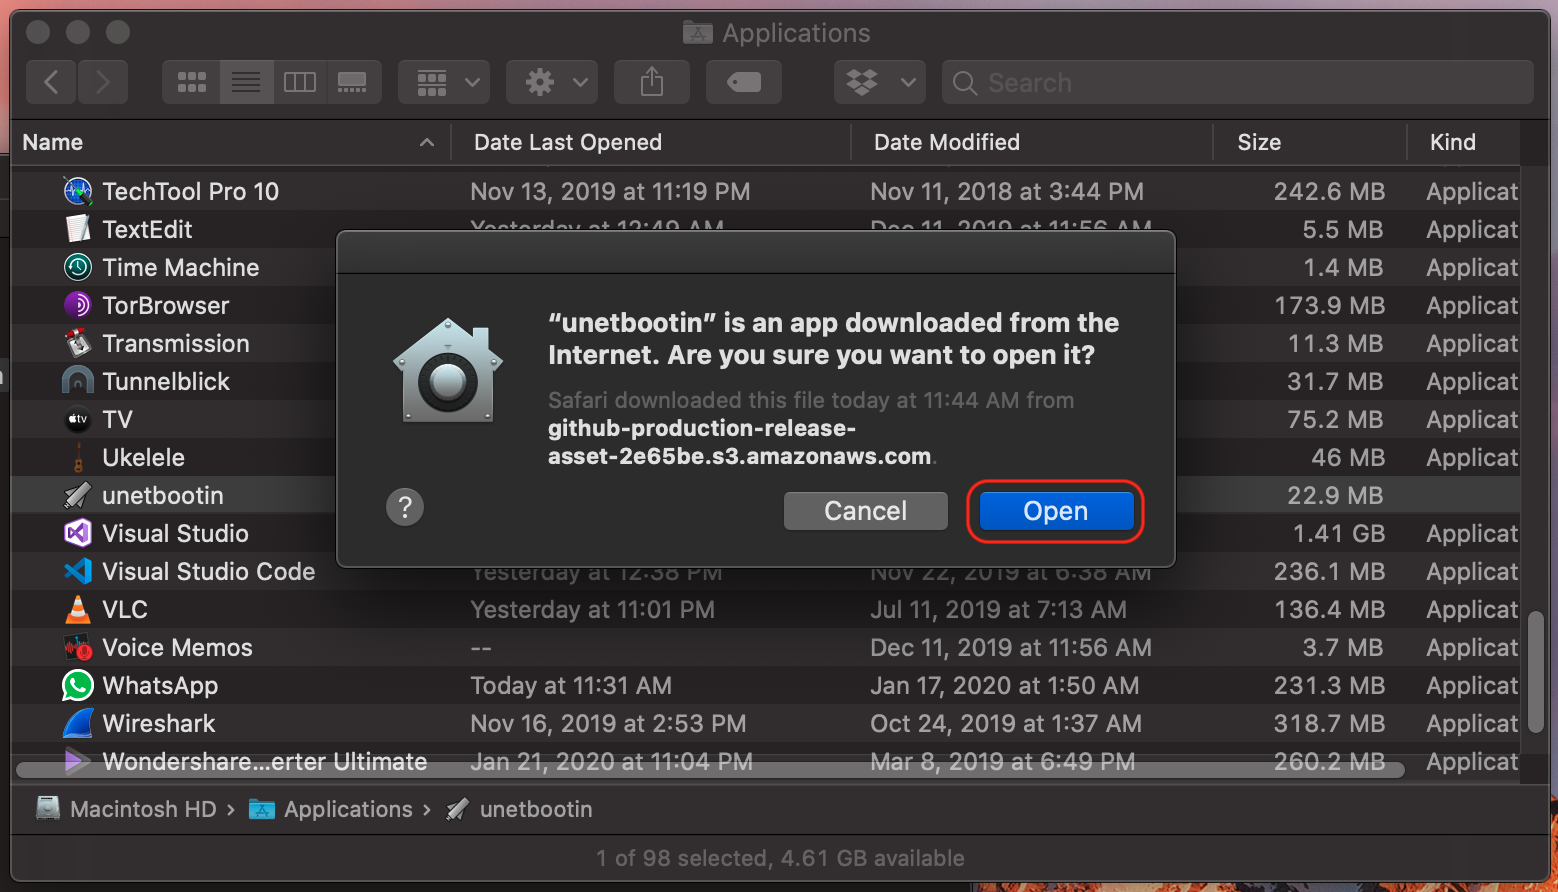
- Launch UNetbootin
- Confirm UNetbootin launch. This only happens once
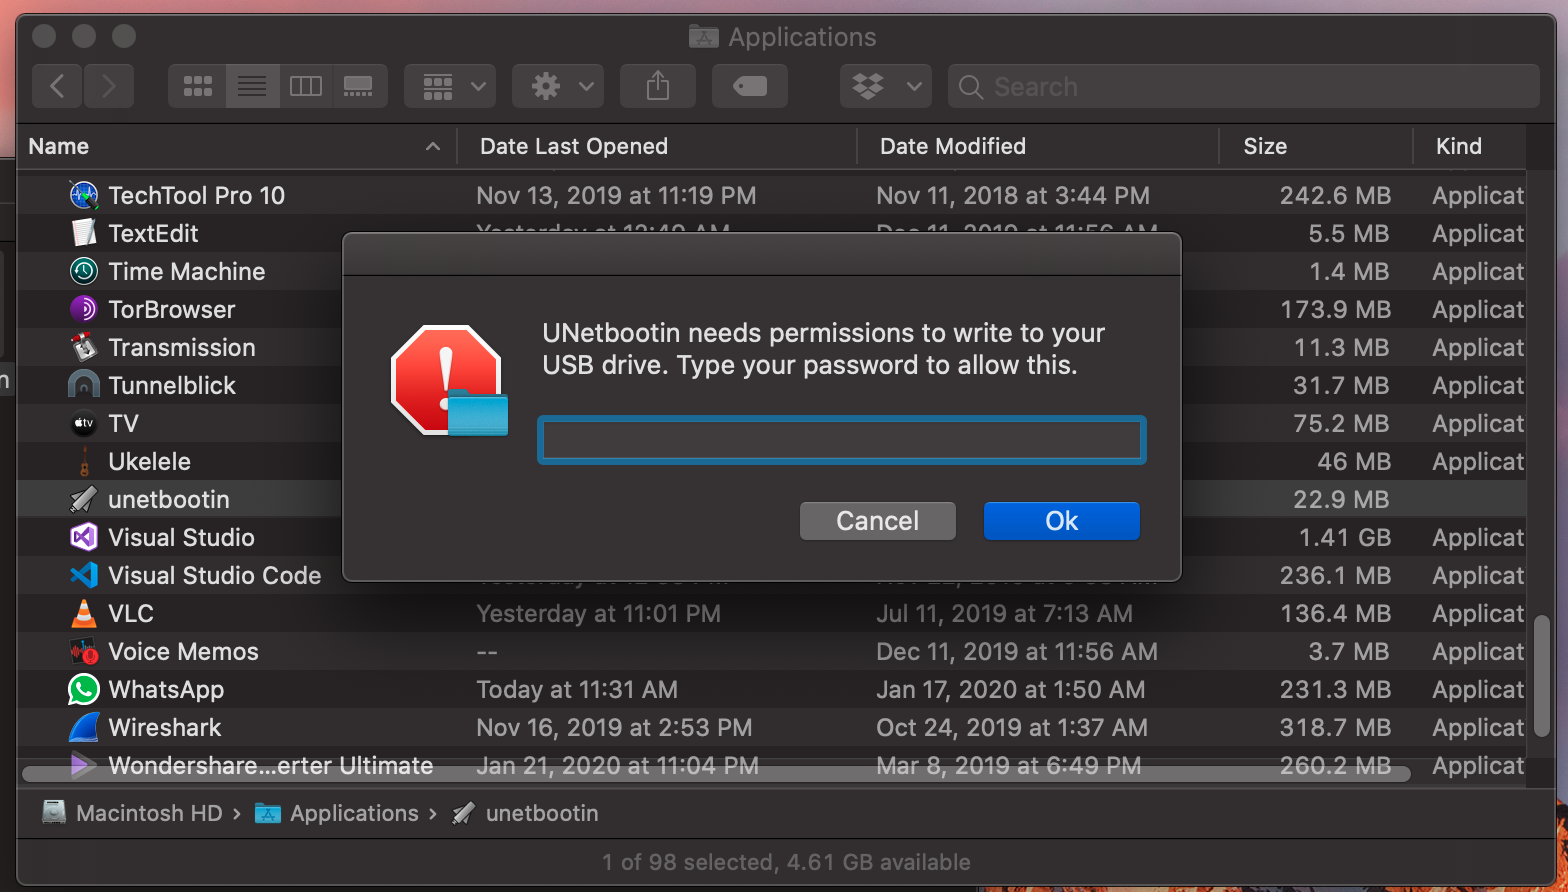
- Enter your password to allow UNetbootin access to filesystem and USB
-
Inside UNetbootin, select the Ubuntu image file we downloaded earlier

-
Load the Ubuntu image file.

- Press Ok button to start the UNetbootin process

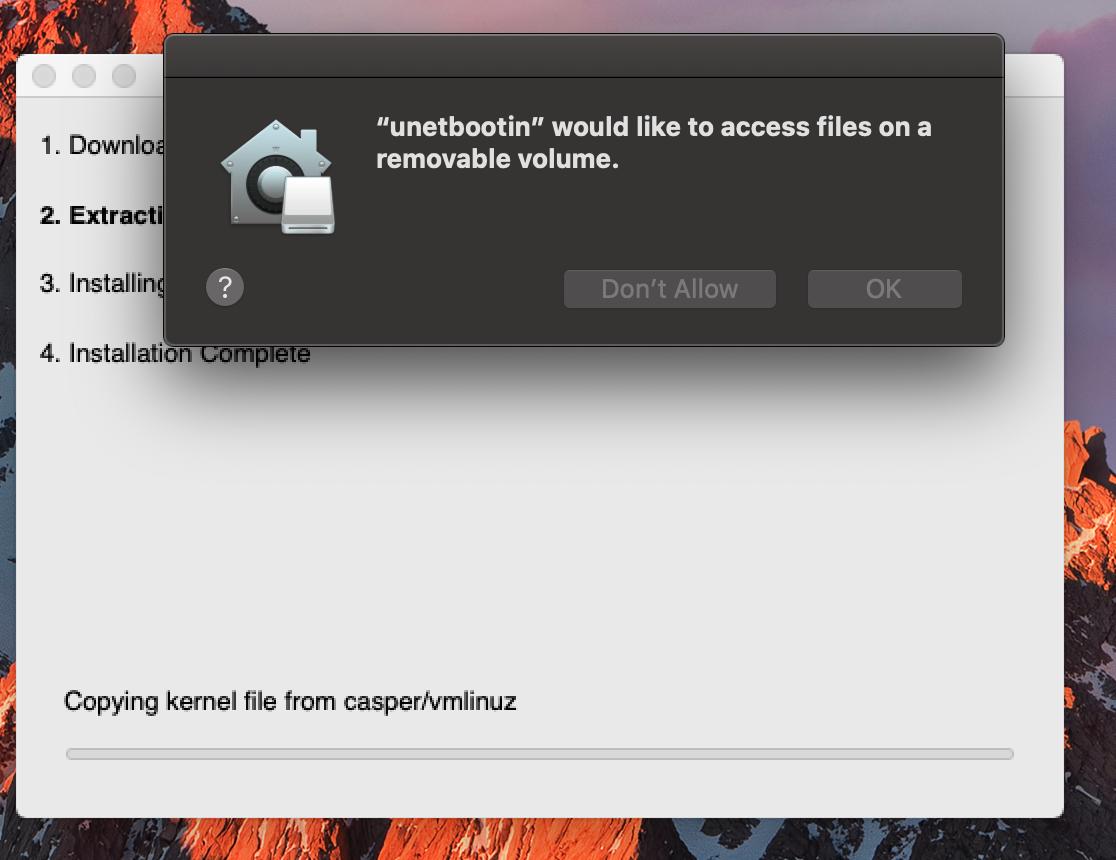
- Allow UNetbootin access to USB or external volume. Please remove other USB flash drive to avoid accidental deletion of data
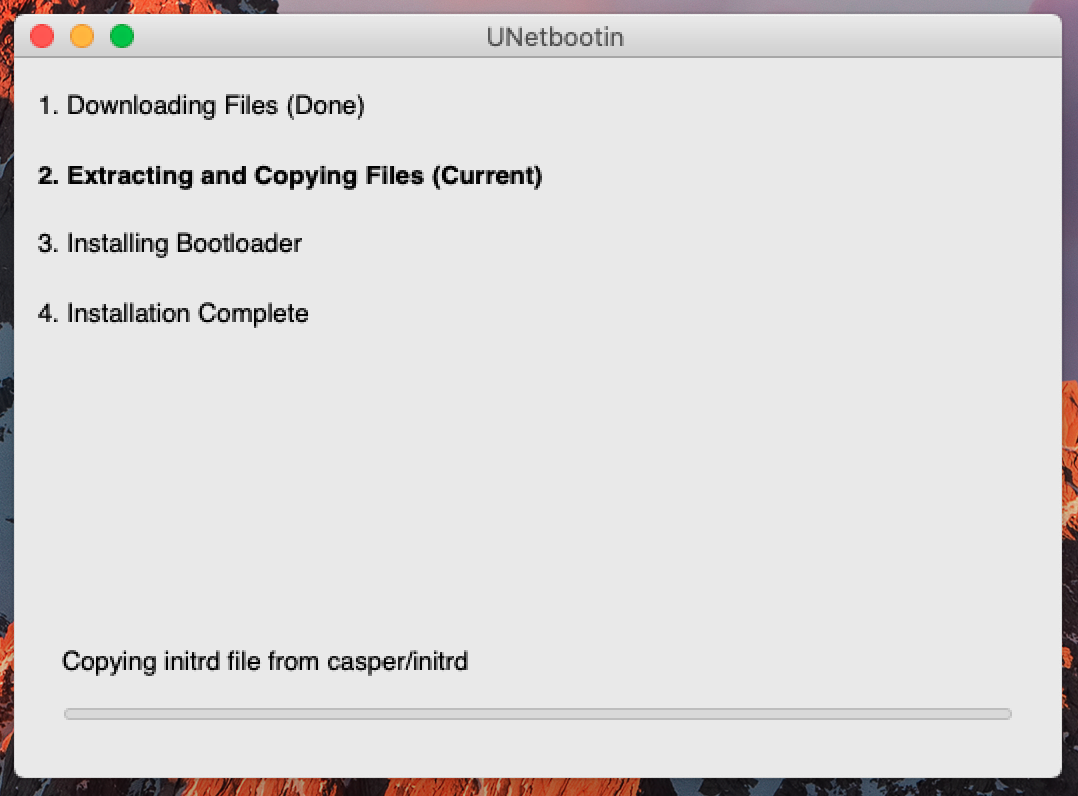
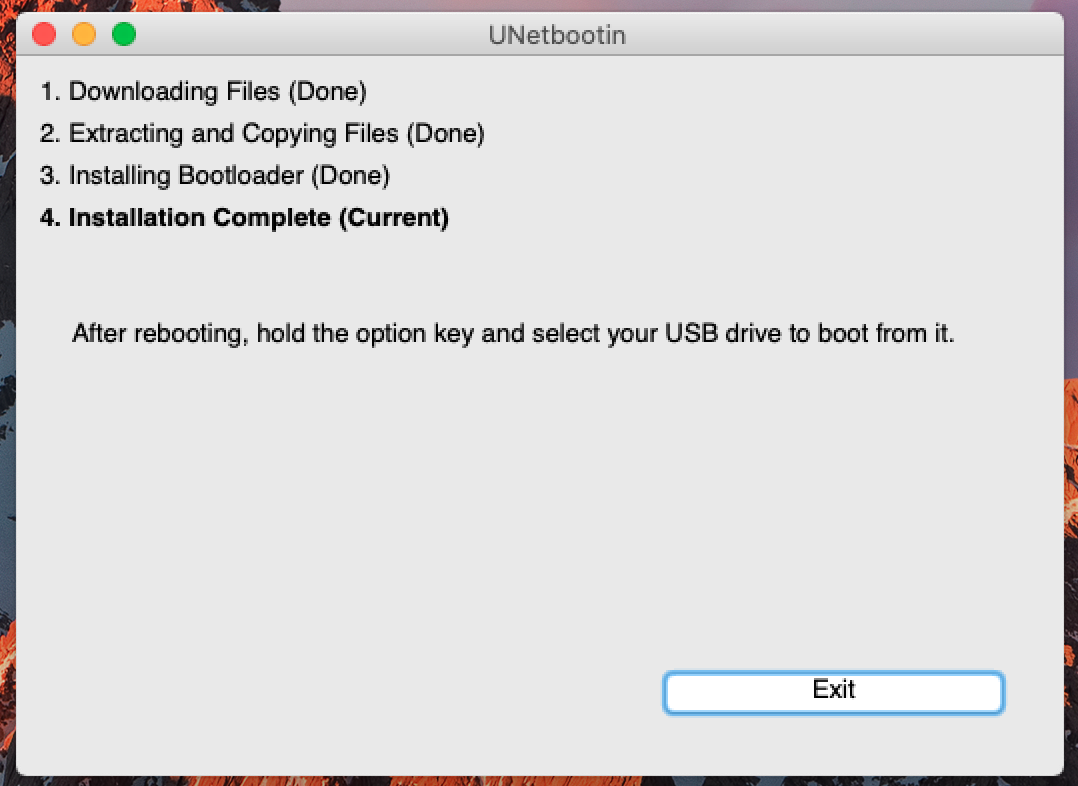
UNetbootin will take minutes to complete. You may have some coffee or tea during this time.
UNetbootin Completed!
Using and testing our newly created bootable USB
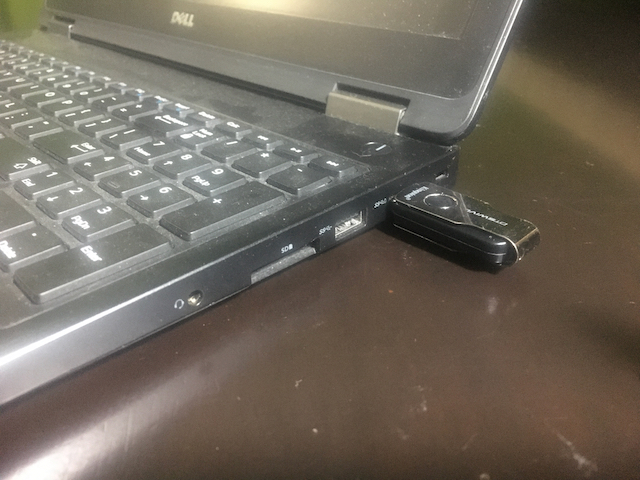
- Turn off the computer and plug-in our bootable USB flash drive
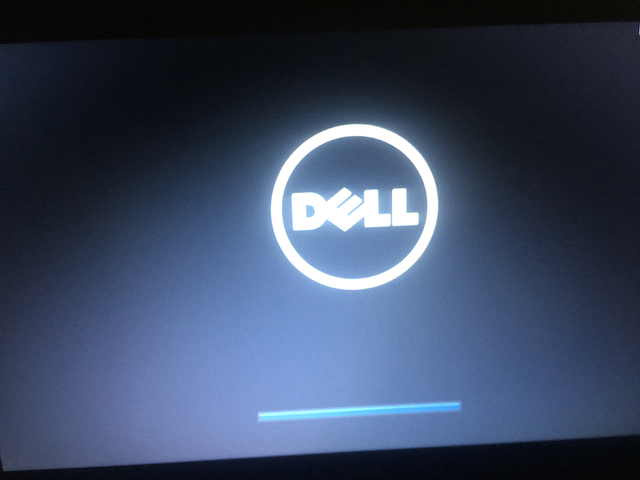
- Turn on the computer and press function key to display boot selection page
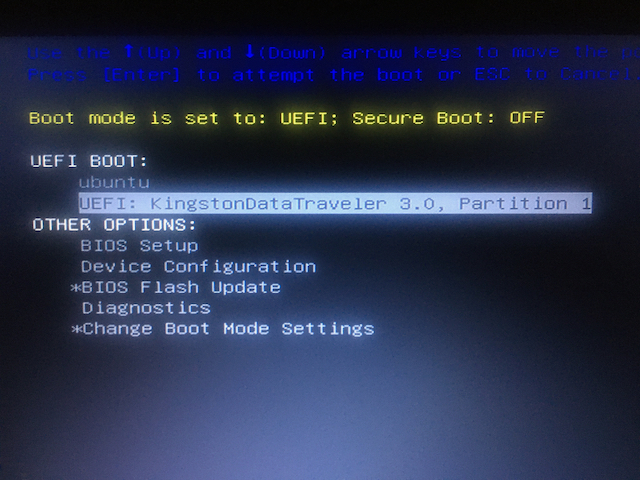
- Boot selection page. Select the bootable flash drive we created
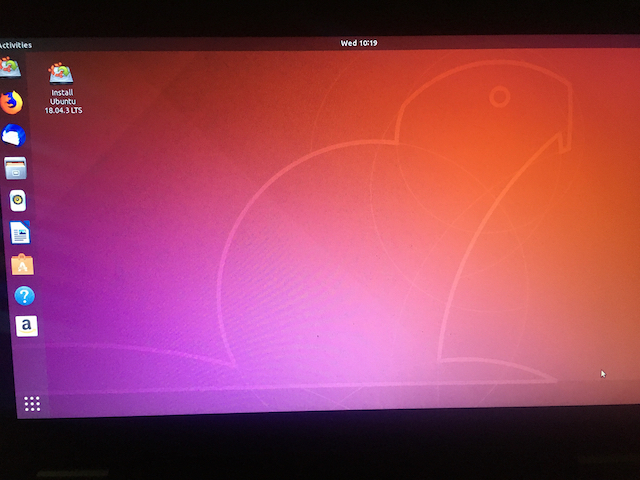
- If you see the Ubuntu bootloader then our bootable USB creation is successful
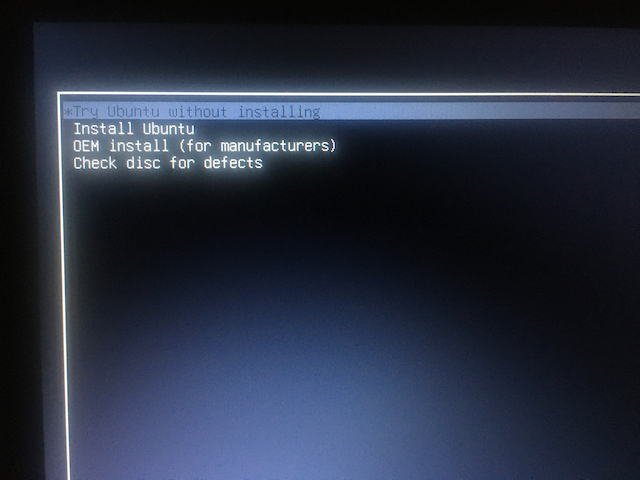
- Running Ubuntu from a flash drive