Here’s the simple steps for you to connect to a Cisco VPN in Ubuntu 18.04 LTS.
Cisco, an American company is the leading provider and manufacturer of enterprise network devices, telecommunication hardware, networking security and networking software. According to smartprofile.io as of April 2018, Cisco holds a 73.9% market which makes it the undisputed leader in its industry. Without further ado here are the steps.
-
Install vpnc and network-manager-vpnc-gnome
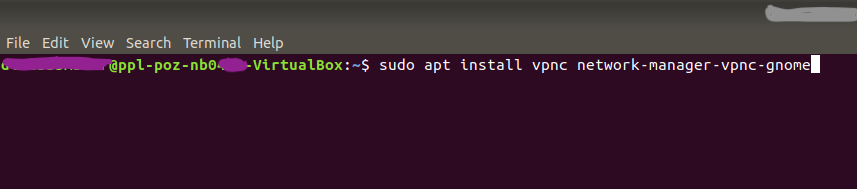
sudo apt install vpnc network-manager-vpnc-gnome -
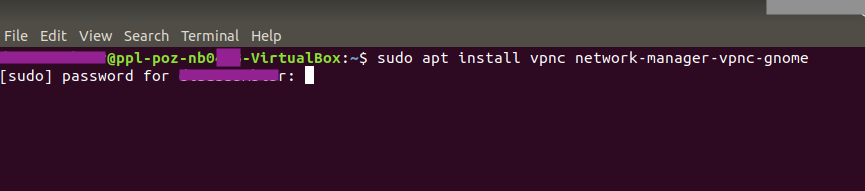
Enter your password
-
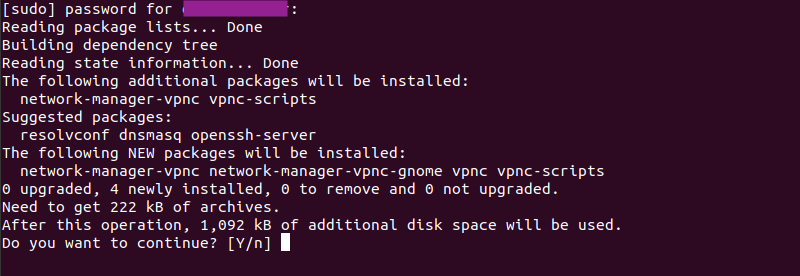
Confirm installation
-
After successfully installing the required software it is time to configure it.
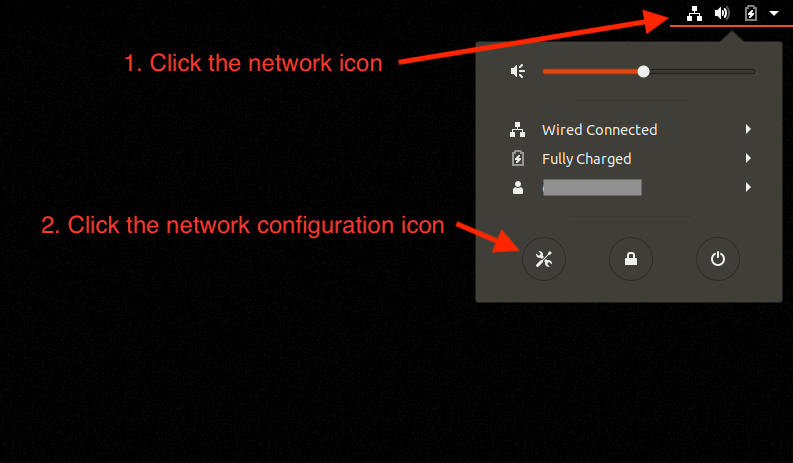
-
Add a new VPN connection
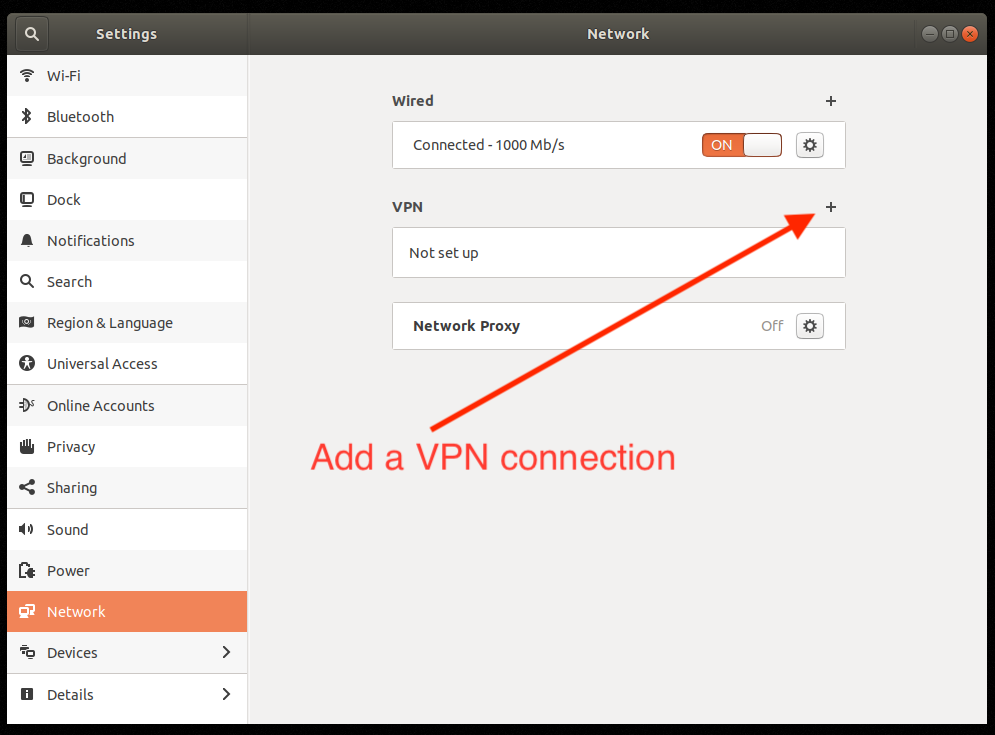
-
From the VPN type options, select Cisco Compatible VPN (vpnc)
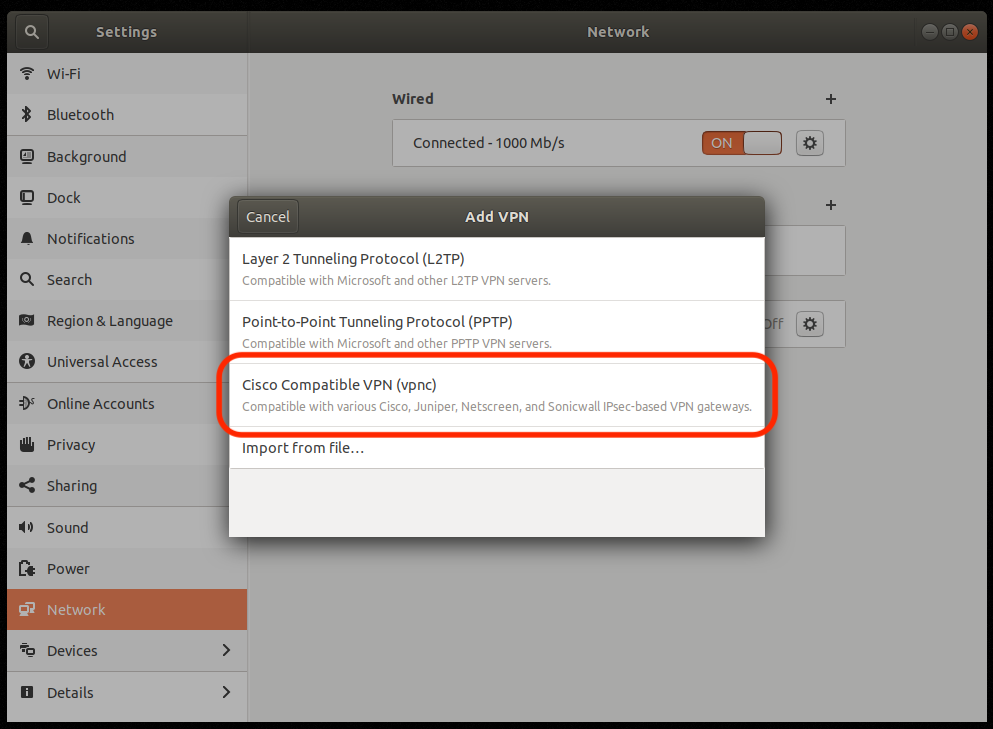
-
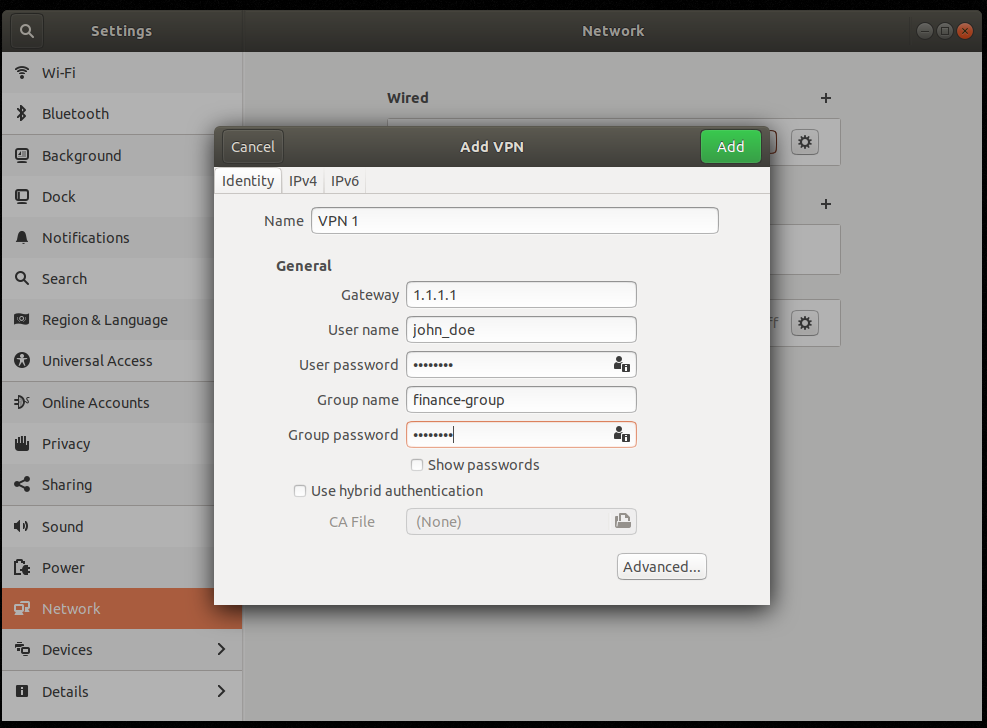
Enter your VPN credentials and press Add
Attributions:
VPN by N.Style from Noun Project